 How-to
How to Reset a Garage Door Opener: 2026 Step-by-Step
Table of Contents
- Step 1: Safety Checks Before You Reset Your Garage Door Opener
- Step 2: Locate the Learn or Program Button on the Motor Unit
- Step 3: How to Reset a Garage Door Remote
- Step 4: How to Reset a Garage Door Keypad
- Step 5: How to Reprogram a Garage Door Opener After Clearing Codes
- Step 6: Garage Door Opener Troubleshooting When Reset Fails
- Step 7: Verify the Reset and Reconnect the Door
- Conclusion: When to Call a Professional
- Frequently Asked Questions
Last Updated: October 12, 2026
Step 1: Safety Checks Before You Reset Your Garage Door Opener
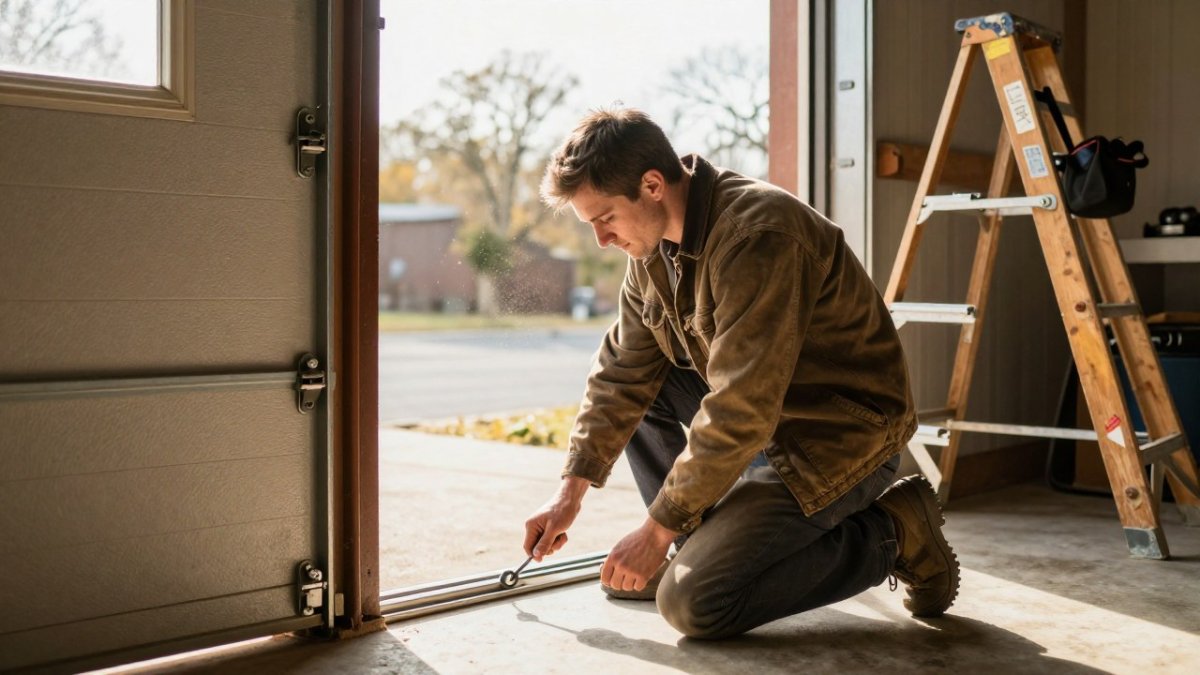
Before you touch any button, get the door to a safe, known position. Knowing how to reset a garage door opener starts with one rule: never reset garage door opener hardware while the door is open or the springs are under tension.
Start here:
- Close the garage door completely with the wall button.
- Pull the emergency release cord to disconnect the door from the trolley.
- Make sure no one stands under the door.
- Keep children and pets clear of the tracks.
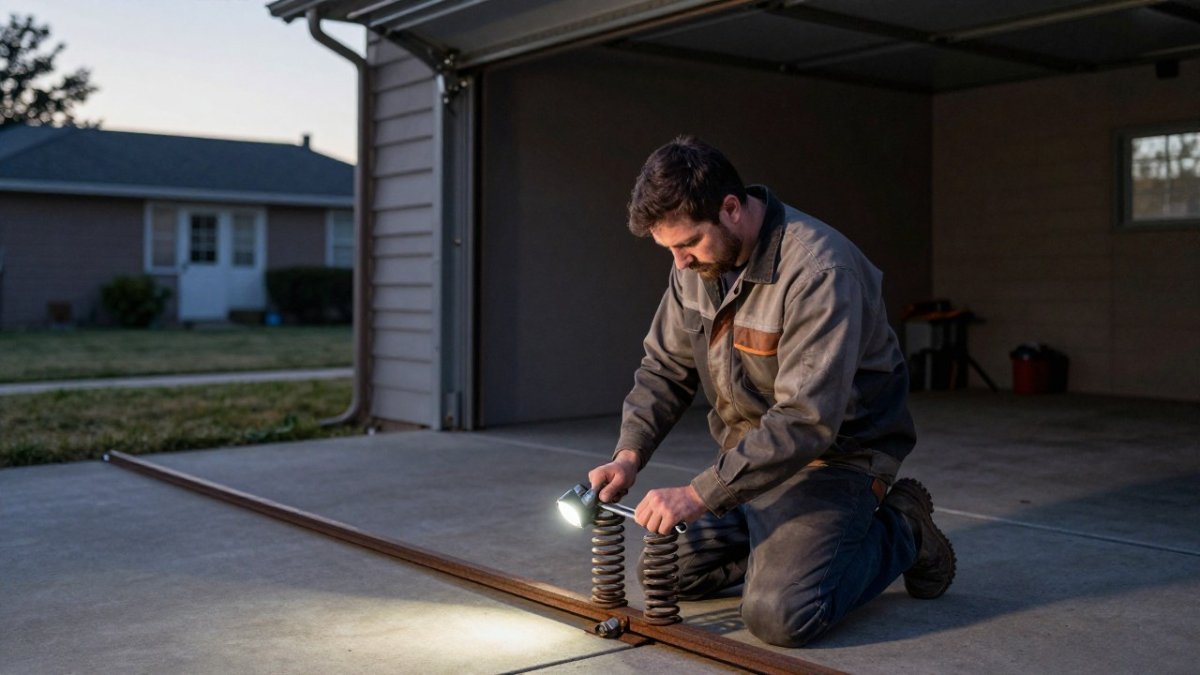
The springs, cables, and bottom brackets hold dangerous tension. According to the U.S. Consumer Product Safety Commission garage door safety guidance, homeowners should never attempt to loosen or adjust these parts themselves.
Once the door is down and the area is clear, you are ready to move to the motor unit.
Step 2: Locate the Learn or Program Button on the Motor Unit
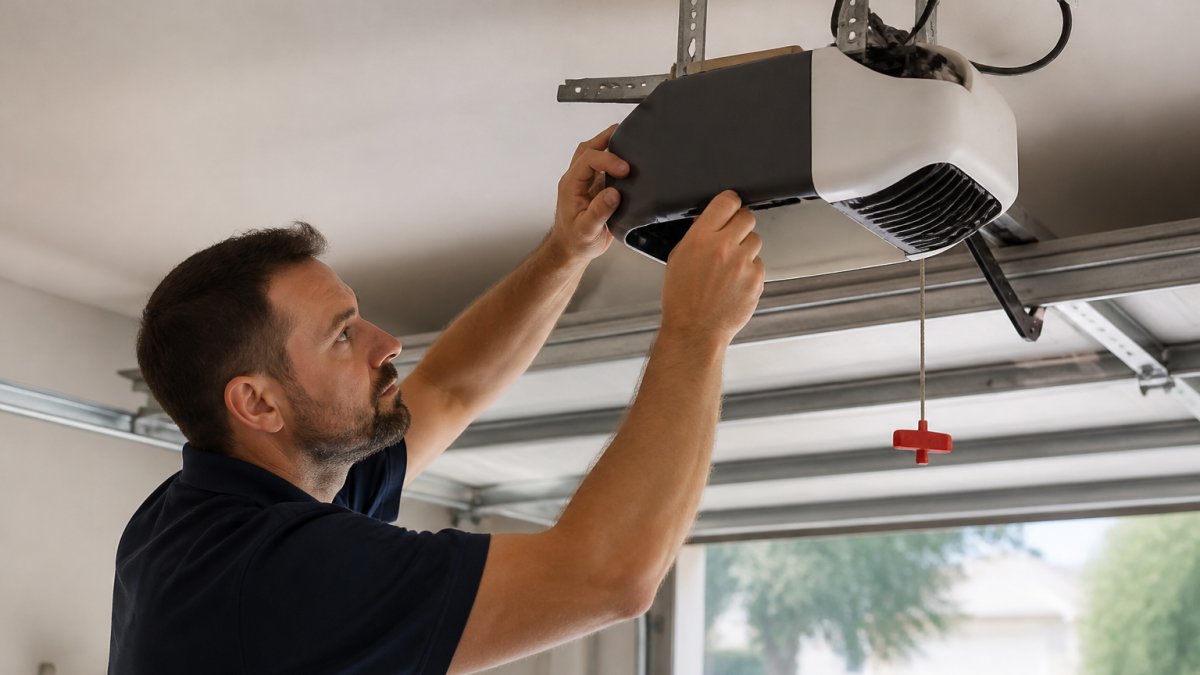
The Learn button is a small square or round button on the back or side of the opener motor unit. It usually sits near the antenna wire and a small indicator light. That description is true across most brands, but it is also where most failed resets begin, because the button's location, color, and press timing are not universal. A Chamberlain unit and a Genie unit can sit on the same ceiling and behave differently.
Here's how to find it fast:
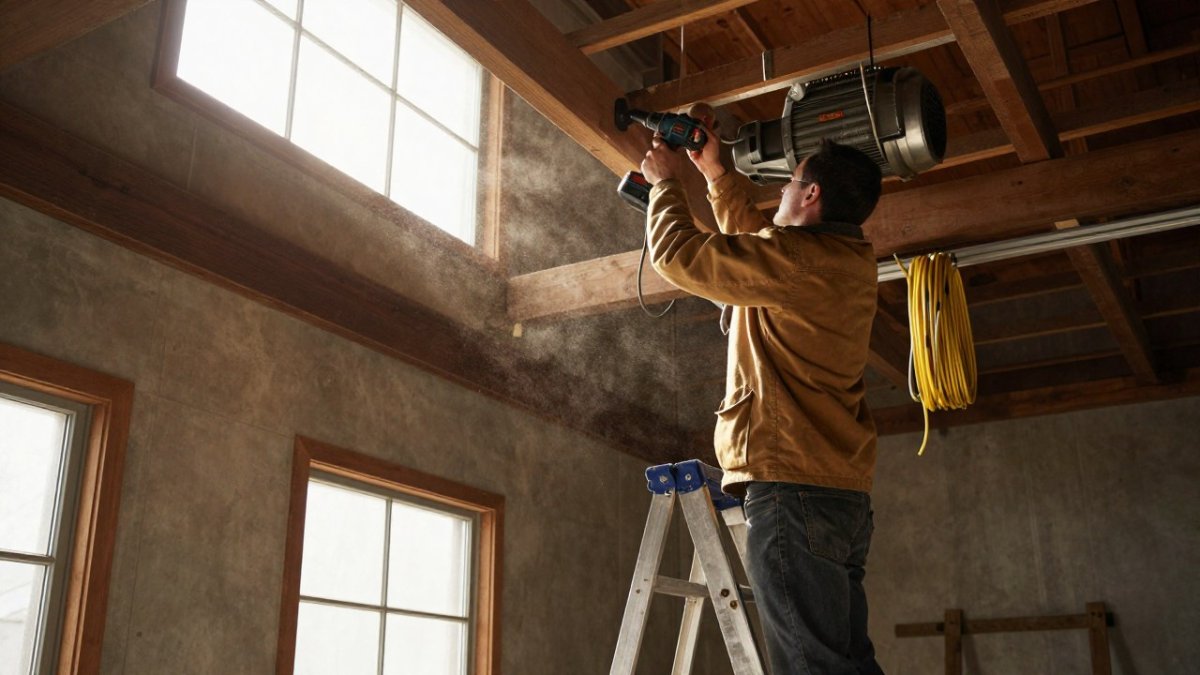
- Climb a sturdy ladder to reach the motor unit on the ceiling.
- Look for a button labeled "Learn," "Program," or "Smart."
- Note the color of the light next to it (often green, red, purple, or yellow).
- Check the end panel and both sides of the housing, not just the back.
Why the model number matters more than the brand
Two openers from the same brand, built a few years apart, can use different radio systems and different programming sequences. The reliable way to identify yours is the model and serial label, usually a sticker on the back or side of the motor housing or on the inside of the light lens cover. Write down the model number and the date code before you climb down.
With that number you can pull the exact manual. Most manufacturers post free PDF manuals on their support sites, and the manual is the only source that tells you the correct button, the correct press duration, and the correct indicator-light behavior for your specific unit. Generic instructions are a starting point, not a guarantee.
What varies by manufacturer and generation
- Button color and radio type. The color of the Learn button or its indicator light often signals which remote and keypad generations will pair. A remote built for one radio generation typically will not pair with an opener from another, no matter how many times you press the button.
- Press duration. Some systems clear memory with a short press; others require a long hold of several seconds. The indicator light, not a stopwatch, tells you when the unit has accepted the command.
- Programming sequence. Some units want you to press Learn first and then the remote; others want the remote pressed first. The order is model-specific.
- Keypad behavior. Some keypads program at the motor unit, others program at the keypad itself, and some require both.
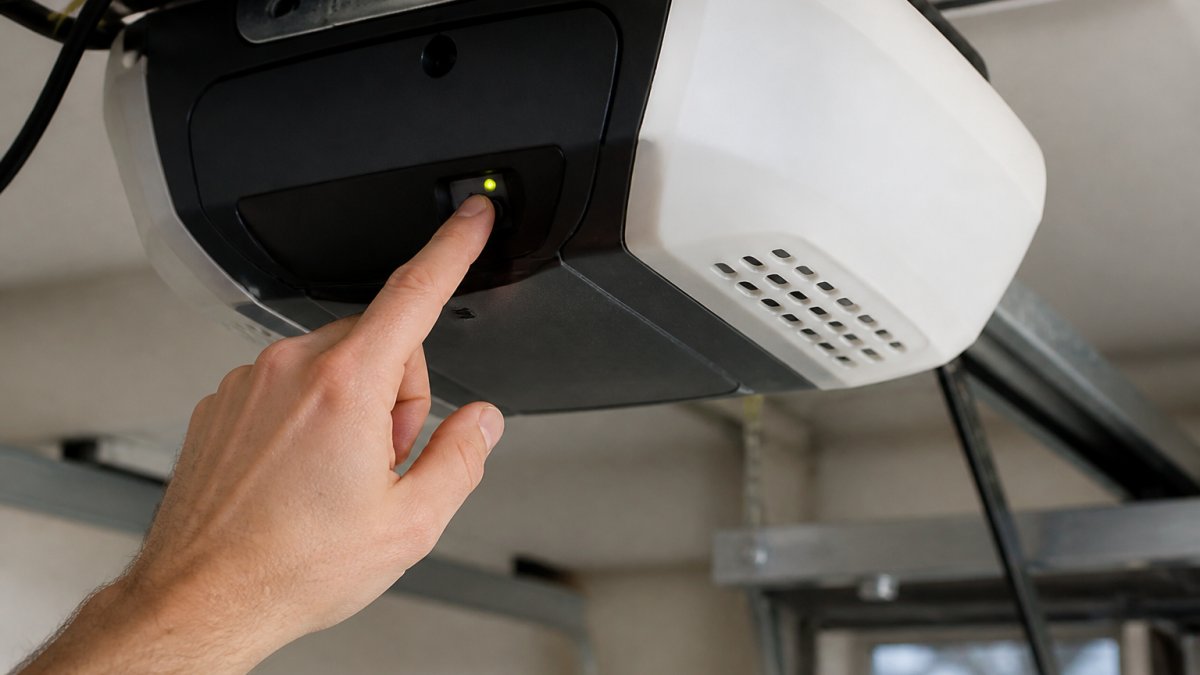
Found it, and you know your model? Good. Now you can clear the old codes.
Step 3: How to Reset a Garage Door Remote
To reset a garage door remote, you erase its stored code and pair it again. This is the fix when a remote is lost, stolen, or simply stops working.
Press and hold the Learn button on the motor unit for about six seconds. The indicator light will blink and then turn off. That means the memory is cleared. Every remote and keypad linked to that opener stops working.
To pair a remote again:
- Press the Learn button once. The light comes on.
- Within 30 seconds, press the remote button you want to use.
- Wait for the opener light to blink or click.
Repeat for each remote you own. If your remote will not pair, the battery is the usual culprit. Swap it and try again before assuming the remote is dead.
Step 4: How to Reset a Garage Door Keypad
Resetting a garage door keypad means clearing the old access code and setting a new four-digit code. This matters most in a new home, where the previous owner's codes may still work.
First, clear the keypad:
- Press the Learn button and hold it until the light goes off.
- Wait for the opener to beep or flash.
Then set a new code:
- Enter the existing code, if you know it, then press and hold "Program."
- Enter your new four-digit code.
- Press "Enter" and wait for the keypad to flash.
If you do not know the old code, clearing the motor unit first wipes it. Then follow the pairing steps in your keypad's manual. A common mistake is skipping the clear step, which leaves the old code active.
Step 5: How to Reprogram a Garage Door Opener After Clearing Codes
Reprogramming a garage door opener after you reset garage door opener codes is a clean, simple process, but timing matters. The opener only stays in pairing mode for about 30 seconds.
Here is the sequence:
- Press the Learn button once. The indicator light turns on.
- Within 30 seconds, press the button on your remote or enter your keypad code.
- Watch for the light to blink or the opener to click.
- Test the door with the remote.
If the light never blinks, you missed the window. Press Learn again and repeat. Each device, remote or keypad, needs its own pairing cycle.
Step 6: Garage Door Opener Troubleshooting When Reset Fails
When a reset fails, the cause is usually one of a few common problems. Garage Door Opener troubleshooting starts with the simplest checks first, and with one distinction that most guides skip: a code reset and a mechanical adjustment are two different jobs.
First, separate the two kinds of "reset"
Erasing remote and keypad codes only touches the opener's memory. It does not change how far the door travels, how hard it pushes, whether the safety sensors are aligned, or whether the door is balanced. If your door moves wrong, stops partway, reverses, or strains, you have a mechanical or travel-limit issue, not a code issue. Adjusting travel limits or force settings to "fix" a code problem, or clearing codes to "fix" a door that reverses, is how people create a new problem.
| Problem | Likely Cause | Fix |
|---|---|---|
| Remote won't pair | Dead battery | Replace the battery |
| Light never blinks | Wrong button pressed | Find the Learn button |
| Keypad won't accept code | Old code still stored | Clear the motor unit first |
| Door opens partway | Travel limit off | Adjust travel limits |
| Door reverses on close | Force setting too low, or a sensor issue | Check the safety sensors first, then the force setting |
The checks that actually resolve most failures
Work through these in order before you touch any adjustment:
- Battery and contact. A weak remote battery is the single most common reason a remote will not pair. Replace it and clean the button contacts.
- The pairing window. The opener stays in pairing mode for only a short time. If the light never blinks, you missed the window, press Learn again and repeat immediately.
- Radio generation match. If a remote is from a different generation than the opener, it will not pair. Confirm compatibility using the model number from Step 2.
- Safety sensors. If the door reverses on close, look at the two sensors near the floor. A misaligned or obstructed sensor mimics a programming fault. Clear the path and check that both indicator lights are steady.
- Power cycle. If the opener seems stuck in programming mode, cut power at the wall switch or breaker for about a minute, restore it, and start the pairing sequence over.
When to stop and call a technician
Stop and call a pro if the door is off its tracks, a spring is broken, the opener hums without moving the door, or the door is visibly unbalanced. Springs, cables, and bottom brackets hold stored energy that can cause serious injury, and the U.S. Consumer Product Safety Commission garage door safety guidance advises homeowners never to loosen or adjust those parts themselves. A code reset will not fix any of them, and forcing an adjustment can make the door dangerous.
Step 7: Verify the Reset and Reconnect the Door
Verifying the reset takes two minutes and saves a callback. Test every device you paired.
- Press each remote and watch the door respond.
- Enter the keypad code and confirm it opens the door.
- Try an old remote or code to confirm it no longer works.
Now reconnect the door. Pull the emergency release cord toward the opener until the trolley clicks back onto the carriage. Run the door up and down once with the wall button to confirm smooth travel.
If you use a smartphone app or a car's built-in HomeLink system, re-pair those too. They count as extra remotes and need the same Learn-button step.
Conclusion: When to Call a Professional
Some problems sit outside a reset. Springs and cables hold stored energy that can cause serious injury, and the U.S. Occupational Safety and Health Administration guidance on stored energy hazards treats this kind of tension as a real risk.
At Garage Door Connection, we handle the repairs that a reset cannot fix. We provide rapid 24/7 emergency response, safe spring replacement with specialized equipment, and advanced opener technology with smartphone control and battery backups.
If your opener will not respond after a reset, or you want a smart upgrade that holds up all winter, get a free quote from Garage Door Connection. We will get your door moving smoothly again.
Frequently Asked Questions
How do I reprogram my garage door opener?
Press and release the Learn button on the motor unit, then within 30 seconds press and hold the remote button you want to pair. The opener's indicator light will blink or turn off to confirm. For keypads, enter your four-digit code and press Enter. If the opener has a Program button, follow the same sequence. Always test the remote after programming to ensure it opens and closes the door reliably.
Will resetting my garage door opener erase its remote and keypad settings?
Yes. Clearing the opener's memory erases all remote and keypad codes, including any previous owner's codes or lost remote codes. After a reset, you must reprogram each remote and keypad individually. This is why a reset is recommended when moving into a new home or after a remote is lost or stolen. Keep your manual handy for model-specific steps.
How do I reset a garage door opener after a power outage?
After a power outage, the opener usually retains its codes, so a full reset may not be needed. Instead, press the wall control or remote to see if it responds. If not, unplug the opener for 30 seconds, plug it back in, and test. If the door still doesn't move, follow the Learn button reset steps to clear and reprogram remotes. Also check the emergency release cord to ensure the door is re-engaged.
Why is my garage door not responding to the remote?
Common causes include dead remote batteries, a locked or disconnected opener, or a blocked safety sensor. First, replace the remote battery. If that fails, try reprogramming the remote using the Learn button. Also check that the opener's antenna is not damaged and that the indicator light on the motor unit is functioning. If none of these work, call a professional for garage door opener troubleshooting.