 How-to
7 Steps to Install a Commercial Garage Door Opener in 2026
Last Updated: November 8, 2026
Quick Summary
A commercial garage door opener installation starts with assessing the door, opening and spring system before any hardware is mounted. Measure the opening and headroom, check the door balance and spring condition, then match the operator type and duty cycle to the door. Follow the eight installation steps in order and run full entrapment and safety tests before handoff.
- Measure opening width, height, headroom and side room before ordering any equipment.
- Check door balance by hand; a poorly balanced door forces the opener and wears it out.
- Match operator type to door style: trolley, jackshaft or hoist.
- Size the operator to real daily cycles and add margin for peak periods.
- Test photo-eyes, safety edges and force settings during commissioning before handoff.
Table of Contents
- Commercial Garage Door Opener Installation: Assessing the Site and Door Before You Start
- Commercial Garage Door Opener Types and How to Match One to Your Door
- Tools, Materials, and Electrical Requirements for a Commercial Opener
- Step-by-Step Commercial Garage Door Opener Installation
- Commercial Garage Door Opener Safety Features and Commissioning Tests
- What a Commercial Garage Door Opener Costs and How Long the Install Takes
- Booking Your Commercial Opener Installation With Garage Door Connection
- Frequently Asked Questions
Commercial Garage Door Opener Installation: Assessing the Site and Door Before You Start
A commercial garage door opener installation goes wrong most often before anyone touches a drill. A common pattern in the field is that the operator gets bolted up, but the door was never measured or checked for balance.
Most commercial doors are heavier, taller and used far more often than residential ones. That changes the stakes. A failing spring or a misjudged header can stop a loading dock for a day or create a safety hazard. Start with the assessment, and the rest of the install becomes much easier.
Measuring the Door, Opening, and Headroom
Measure the door opening width and height first, then the headroom above the opening and the side room on each side. Opener type and track layout depend on these numbers, so record them before you shop for equipment.
Check these measurements:
- Opening width and height: Measure at several points, since walls and jambs are not always square.
- Headroom: The distance from the top of the opening to the ceiling or obstruction.
- Side room: Space on each side of the door for the tracks and brackets.
- Backroom: Depth needed for a rail-mounted operator, if the design calls for one.
- Door height and panel count: Needed for weight estimates and track selection.
Look for anything that could block the track, such as ductwork, lights or sprinkler lines. A common mistake is ordering equipment based on the door size alone and then finding out the ceiling is too low for the rail. Measure the space, not just the door.
Checking Door Weight, Balance, and Spring Condition
The opener does not lift a poorly balanced door. It forces it, which wears out the motor, the drive and the door itself. Before installation, check the door by hand.
Start with a simple test:
- Close the door fully and disconnect any existing opener.
- Lift the door by hand to about waist height and let go.
- A balanced door stays roughly in place. If it drops or shoots upward, the springs need attention.
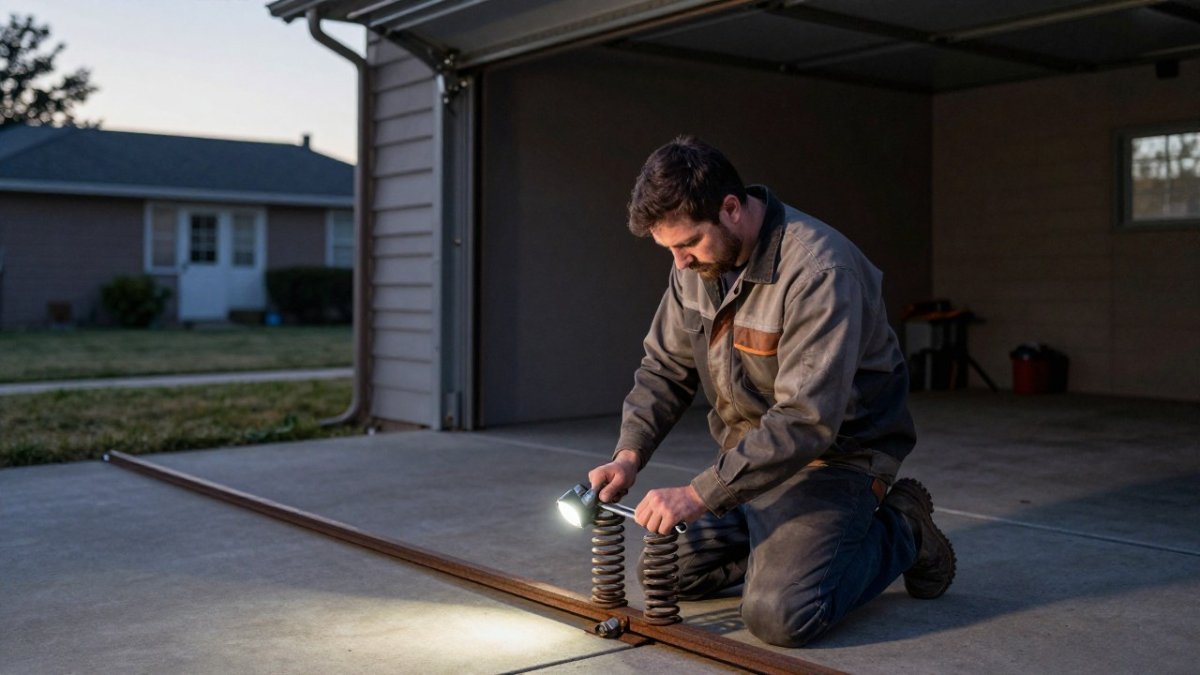
- Inspect torsion springs for gaps, stretched coils or visible wear.
- Check cables for fraying and drums for slippage.
Spring condition is the most important safety check. Torsion springs store large amounts of energy, and replacement should be left to trained technicians with the proper equipment. If you are weighing coverage options, read whether a garage door spring replacement guarantee is worth it. If the springs are worn, fix them before adding an opener, or the new operator will be undersized for the real load.
Commercial Garage Door Opener Types and How to Match One to Your Door
Choosing an operator starts with the door style, the available space around the opening, and how often the door cycles each day.
The three common commercial configurations are:
- Trolley operators: Mount on the ceiling or header and push or pull the door along the track through a rail and door arm. They suit standard-lift sectional doors with adequate headroom and backroom, and they are the most common choice for low-to-moderate cycle counts.
- Jackshaft operators: Mount on the wall beside the door and drive the torsion shaft directly, so they need no ceiling rail or backroom. They work well when headroom is limited or when the ceiling is crowded with ductwork, lights or sprinkler lines, and they pair naturally with high-lift and vertical-lift sectional doors.
- Hoist operators: Use a chain or crank drive to lift heavier doors and tall openings, and are often specified where the door weight or opening height exceeds what a trolley or jackshaft unit is rated to handle. They are also common on rolling steel and other non-sectional doors.
Match the operator to the door configuration before you compare brands. A standard-lift sectional door with 12 in. of headroom and a clear ceiling is a natural trolley job.
Duty cycle is the second half of the decision, and it is where most residential habits fail.
Horsepower and motor rating should match the door's weight and size, not just the opening dimensions.
Operating speed is a separate trade-off.
Tools, Materials, and Electrical Requirements for a Commercial Opener
Gather the tools and parts before the install starts. Most delays on commercial jobs come from a missing bracket or the wrong wire gauge, not from the hard work itself.
A typical kit includes:
- Drill with masonry and steel bits
- Socket set, wrenches and a torque wrench
- Level, tape measure and plumb line
- Ladder or lift rated for the work height
- Mounting hardware rated for the header and ceiling structure
- Track, brackets and rollers matched to the door
- Wire, conduit and a disconnect switch sized to the operator
Electrical work deserves special care. Commercial operators usually need a dedicated circuit, and the voltage and amperage must match the unit's nameplate.
Plan for control stations and safety devices too. Photo-eye sensors, safety edges and a keyed or access-controlled station are standard on commercial installs and need to be wired correctly from the start.
Step-by-Step Commercial Garage Door Opener Installation
The installation sequence follows the assessment. Work through these steps in order, and do not skip the checks between them.
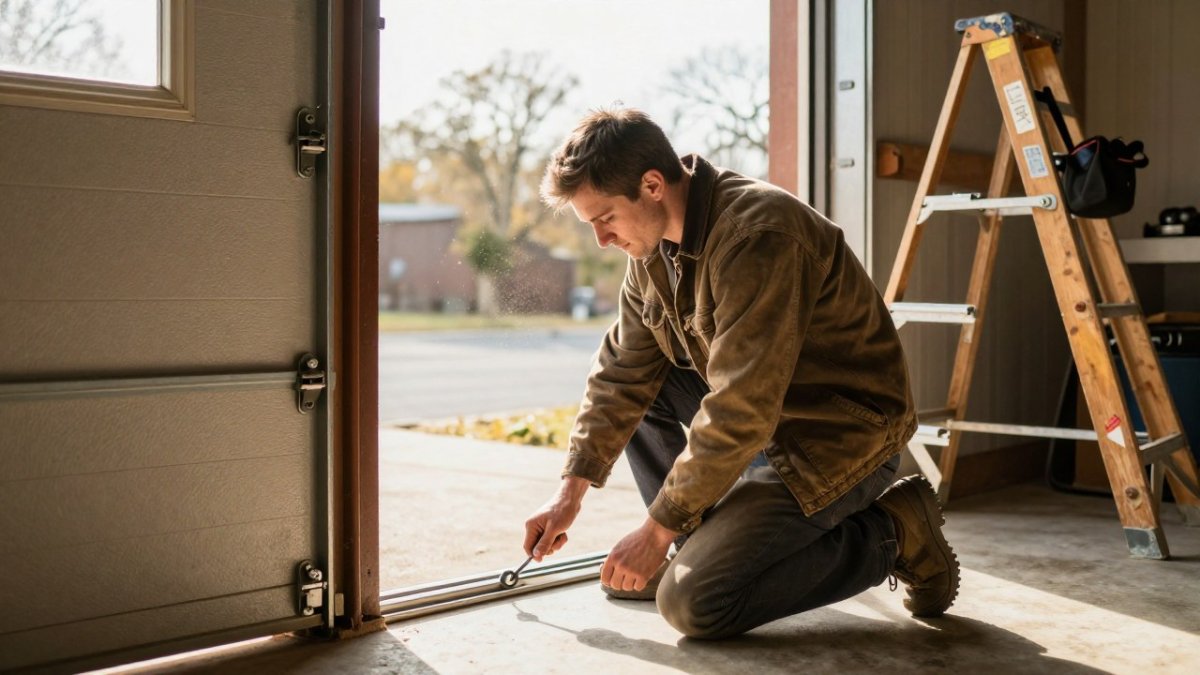
- Confirm the door is balanced and the tracks are straight. Fix any issues first.
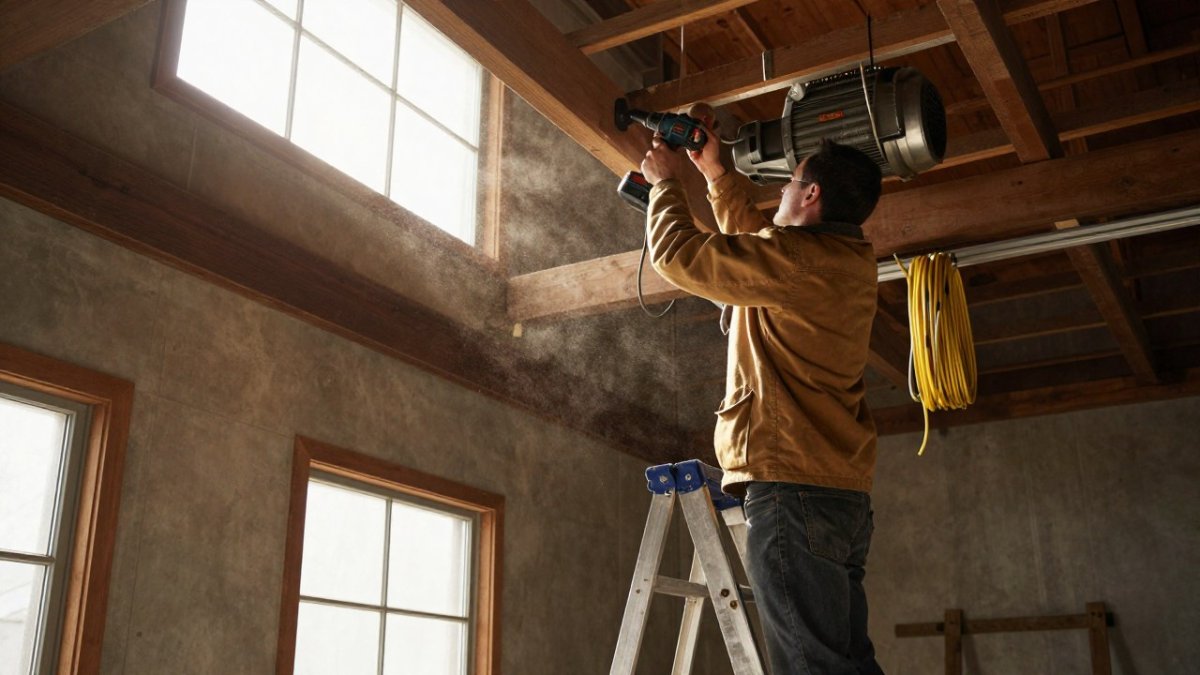
- Mount the header bracket. Attach it to a solid structural member, not drywall or thin framing.
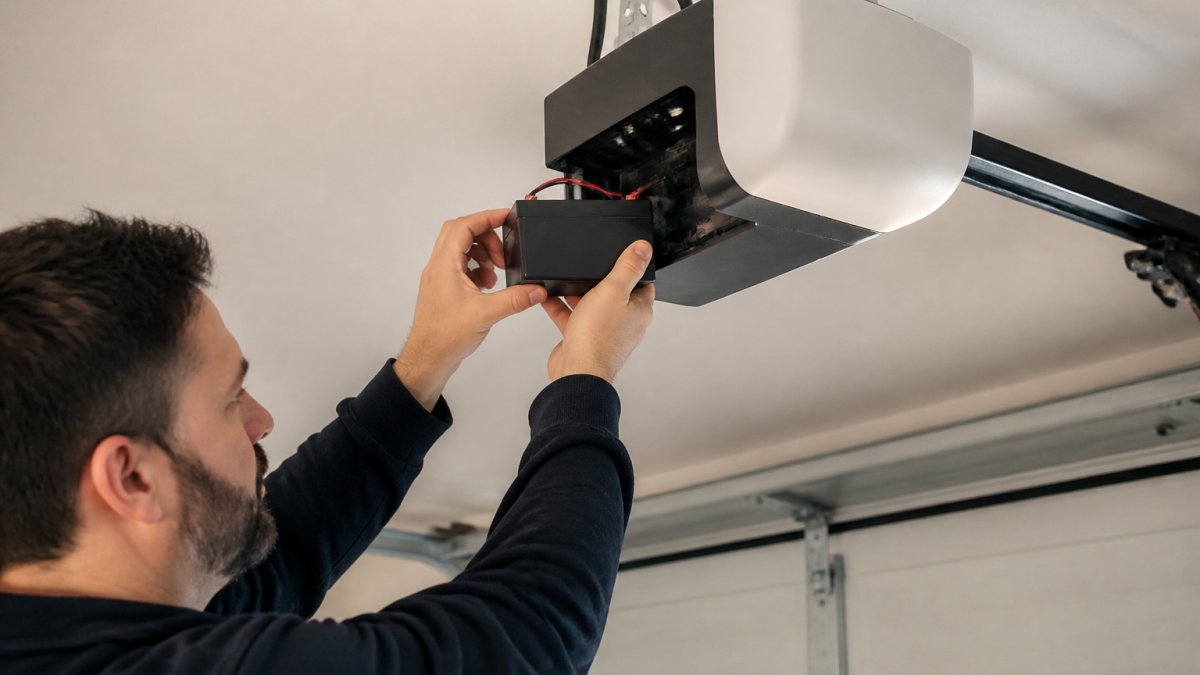
- Install the operator on the header or ceiling according to the chosen type.
- Hang the rail and connect the drive. Align it squarely so the door travels evenly.
- Attach the door arm to the door's bracket and confirm the connection is secure.
- Set the travel limits so the door fully opens and fully closes without overrun.
- Wire the power, control station and safety sensors following the wiring diagram.
- Program the remote and control inputs, then run several test cycles.
Watch out: setting travel limits too tight can cause the door to stop short, while setting them too loose can damage the door or the stops. Test each direction slowly before running the door at full speed.
The installation follows eight steps in sequence, and each one builds on the checks before it.
| Step | What to do | Note |
|---|---|---|
| 1. Confirm balance | Check the door is balanced and tracks are straight | Fix issues first |
| 2. Mount header bracket | Attach to a solid structural member | Not drywall or thin framing |
| 3. Install operator | Mount on header or ceiling by type | Match chosen type |
| 4. Hang rail and drive | Align squarely so door travels evenly | Connect the drive |
| 5. Attach door arm | Connect to door bracket and confirm secure | Check connection |
| 6. Set travel limits | Fully open and fully close without overrun | Test slowly first |
| 7. Wire controls | Power, control station and safety sensors | Follow wiring diagram |
| 8. Program and test | Program remote and inputs, run test cycles | Several cycles |
Commercial Garage Door Opener Safety Features and Commissioning Tests
Commercial doors must protect people and property, and commissioning is how you confirm the safety devices work before the door goes into service. Our common commercial overhead door service mistakes article covers errors that often affect opener safety and testing.
Verify these features during commissioning:
- Entrapment protection: The door must reverse when it meets resistance, and the operator must be equipped with the entrapment protection its listing requires (Safety Commission Proposes Rules For Automatic Garage Door Openers). Most commercial operators rely on a combination of a monitored photo-eye and a safety edge, and the operator should fault or refuse to close if a required device is missing or misaligned.
- Photo-eye sensors: Mount the sensors so the beam covers the full opening height and cannot be stepped over or blocked by stored goods. Break the beam mid-travel and confirm the door stops and reverses.
- Safety edges: Press each edge along its length and confirm the door reverses. Test the edge at the ends as well as the middle, since a damaged or pinched edge often fails first at the corners.
- Force settings: Confirm the door stops or reverses when it hits an obstacle within the force the operator allows. Set force only after travel limits are correct, because a bad limit setting will mask a force problem.
- Emergency release: Test the manual release, confirm it is accessible from the floor, and make sure staff know how to use it during a power failure.
- Disconnect and lockout: Confirm a disconnect switch is installed within sight of the operator, and follow lockout/tagout before any service work on the operator or door.
A repeatable acceptance test is the core of a commercial handoff. For ongoing care after commissioning, see the warehouse door maintenance guide for Colorado.
Commercial electrical and life-safety coordination belongs in the same commissioning pass.
Watch out: a door that passes a quick open-and-close test can still fail an entrapment test at the bottom of travel, where the force setting and the safety edge do the most work.
What a Commercial Garage Door Opener Costs and How Long the Install Takes
Cost and timing depend on the door size, operator type, electrical work and any spring or track repairs needed. Pricing depends on the door, the operator, the electrical scope and the labor involved, so the most reliable number comes from an on-site assessment.
Installation time also varies. A straightforward trolley install on a sound door can move quickly, while a job that needs spring work, new track or electrical upgrades takes longer. Plan for downtime on the door during the work, and schedule it for a slow period if possible.
Booking Your Commercial Opener Installation With Garage Door Connection
A commercial install is easier when the site assessment is done before equipment is ordered. Garage Door Connection offers expert residential and commercial garage door services, so a local team can measure your door, check its balance and help you choose an operator for your duty cycle. Visit the commercial garage door service page to see the commercial offering and the Bennett, Aurora and Denver areas covered.
Request a quote from Garage Door Connection to start planning your commercial opener installation.
Frequently Asked Questions
How much does it cost to install a commercial garage door opener?
Pricing depends on the operator type, door size and weight, electrical work needed, and how many openers the job requires. The most accurate figure comes from a site assessment. Ask for an itemized quote that separates the operator, labor, electrical work, and safety devices so you can compare the scope of each bid. Request current pricing directly from Garage Door Connection through its website.
How long does commercial garage door opener installation take?
Installation time depends on whether the door is already in good mechanical condition, whether the opener is a retrofit or a new build, and how much electrical work is required. A straightforward replacement on a sound door generally takes less time than a job that also involves repairing springs, tracks, or the header. Your installer should give you a time estimate after the site inspection, along with any conditions that could extend the schedule.
Can a commercial garage door opener be installed on an existing door?
In many cases, yes, but only if the door is mechanically sound and the operator is rated for its weight, size, and cycle demands. Before installation, confirm that the springs, rollers, hinges, and tracks are in good working order and that the door balances properly by hand. An operator forced onto a damaged or unbalanced door can fail early and create a safety hazard.
Do commercial garage door openers need professional installation?
Yes, professional installation is the practical choice for most commercial openers. These systems involve high-tension springs, heavy doors, line-voltage wiring, and entrapment-protection devices that must be tested before the door goes back into service. Working on an unbalanced door or an improperly grounded circuit can cause serious injury, so an experienced installer with the right equipment is the safer option.