 Listicle
Need Garage Door Opener Sensor Repair Near You?
Last Updated: October 26, 2026
Quick Summary
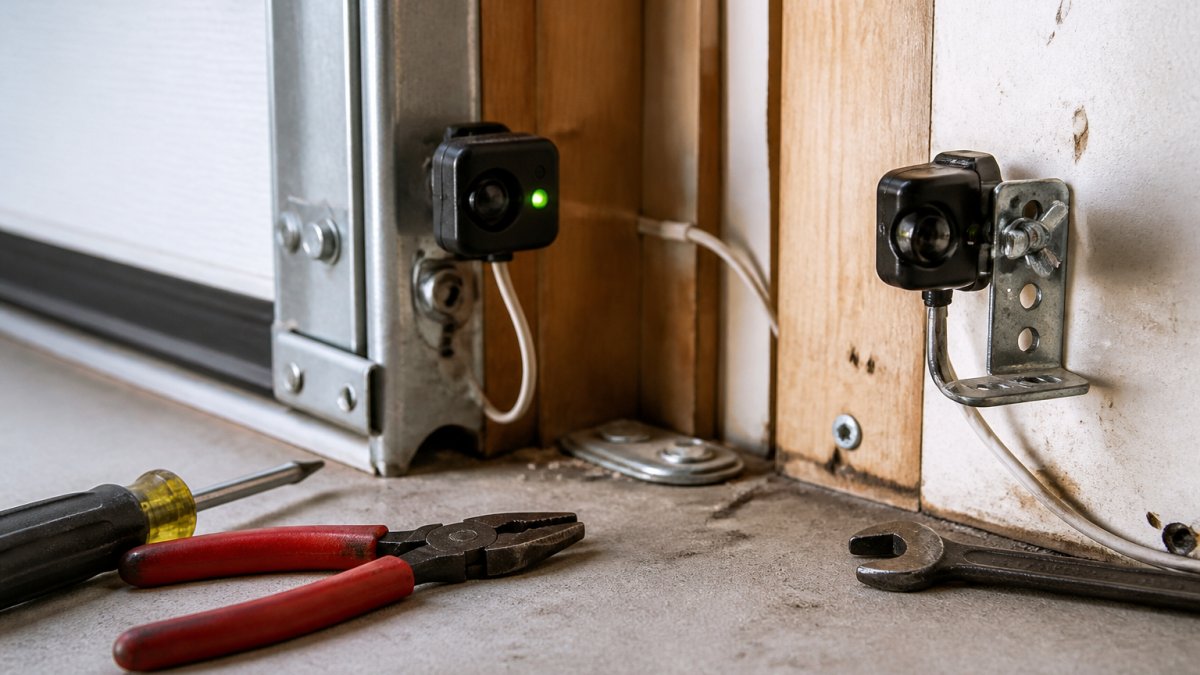
Garage door sensor repair starts with the safety photo-eye sensors mounted about 15 centimeters off the floor on each side of the opening. Misalignment causes most sensor faults and is the cheapest to fix, usually taking 10 to 20 minutes per side. If the housing is cracked or wiring is damaged, replacement makes more sense than repair.
- A solid light on both sensors means the beam is clear and aligned.
- Clear debris, wipe both lenses, and confirm sensors sit at the same height before booking.
- Loosen one bracket only so the other sensor stays a stable reference point.
- Align sensors to each other, not to the door frame, or the beam can miss.
- Replacement beats repair when housings are cracked or wiring is chewed beyond a clean splice.
Table of Contents
- Why Your Garage Door Sensors Are Not Working
- Safe Homeowner Checks Before You Book a Repair
- Garage Door Sensor Alignment: The Most Common Fix
- Garage Door Sensor Replacement: When Repair Stops Making Sense
- What Garage Door Repair Cost Really Depends On
- How to Choose a Local Sensor Repair Service
- Get Your Sensor Repair Booked with Garage Door Connection
- Frequently Asked Questions
Why Your Garage Door Sensors Are Not Working
A garage door sensor repair near me search usually starts the same way: the door closes halfway, reverses, and refuses to budge. At Garage Door Connection, we hear that story daily.
Garage door sensors are infrared safety devices that send a beam across the doorway and stop the door from closing when something breaks it. When that beam is interrupted, misaligned, or the wiring fails, the opener reads it as an obstacle and reverses the door, a safety feature working as designed, not a "broken" door.
What the Blinking Light Is Telling You
Those indicator lights are a diagnostic code most homeowners ignore. On most openers, a solid light on both sensors means the beam is clear and aligned.
- One sensor blinking: the beam is not reaching the other eye. Check alignment and obstructions first.
- Both sensors blinking: suspect loose wiring, a tripped breaker, or a failed sensor unit.
- No light at all: the sensor has lost power, which often traces back to a pinched wire near the track.
If your door is also noisy, slow, or jerky, the sensor may not be the only issue. Our guide to the 4 signs your garage door needs repair covers the other warning signs worth checking.
Safe Homeowner Checks Before You Book a Repair
Before you pay for a service call, run these checks yourself. They take ten minutes and resolve a surprising share of sensor complaints.
- Clear the path: sweep away leaves, cobwebs, and anything leaning against the beam
- Wipe both lenses with a dry cloth, since dust and spider webs block the beam
- Confirm both sensors sit at the same height and face each other squarely
Watch out: never stand under a door that is reversing or moving erratically, and never disable the sensors to force the door closed. Those sensors exist to stop the door on a child, pet, or vehicle.
If your checks reveal a door stuck open, a snapped cable, or a door that will not stay down at all, that is a safety problem, not a DIY one. Our 24/7 emergency garage door repair team handles those calls around the clock.
Garage Door Sensor Alignment: The Most Common Fix
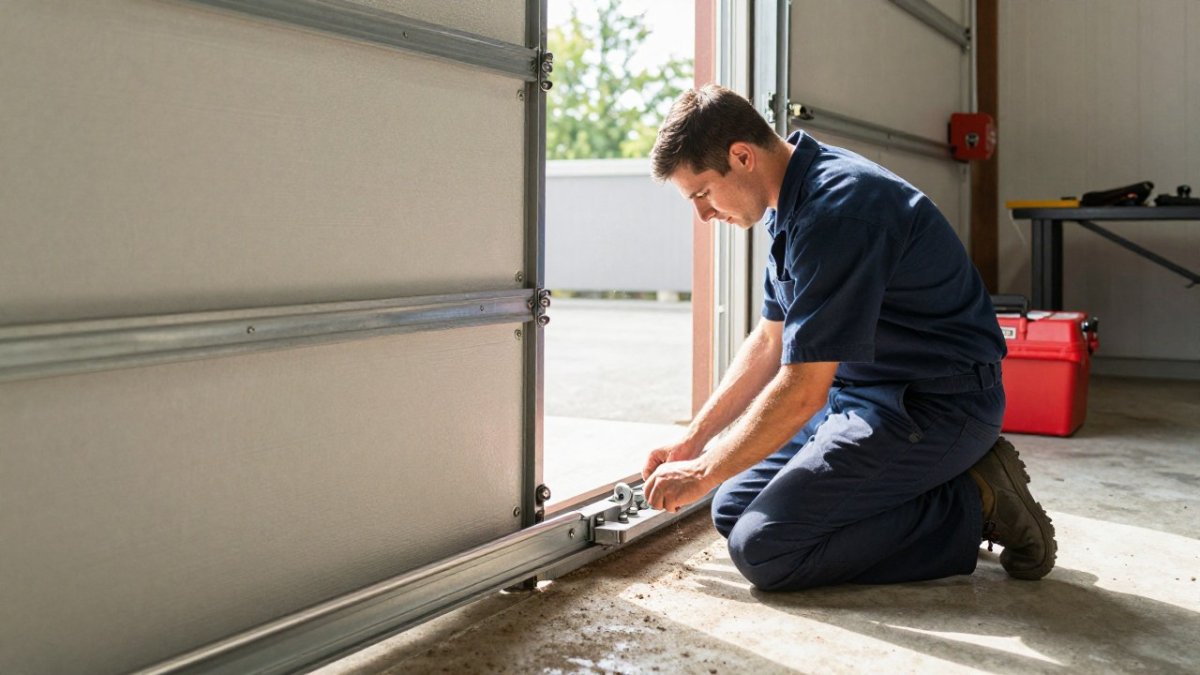
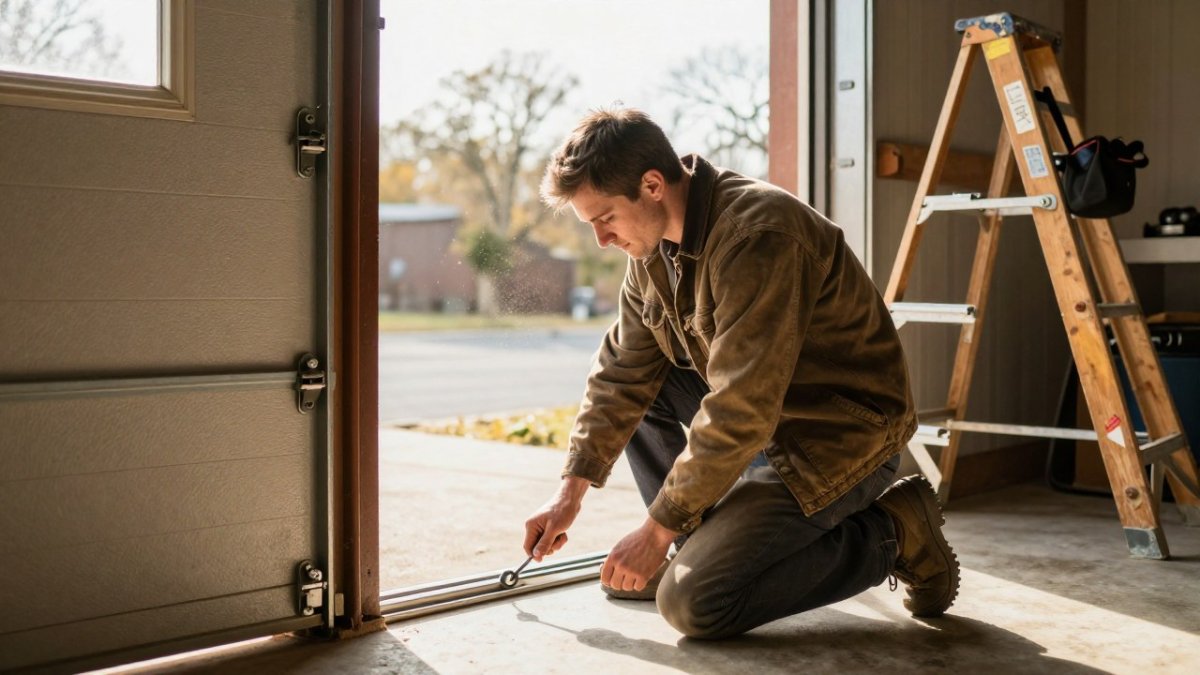
Misalignment causes the majority of sensor faults we see, and it is the cheapest to correct. The brackets holding each photo-eye loosen over time from vibration, temperature swings, and the occasional bump from a bike or trash can.
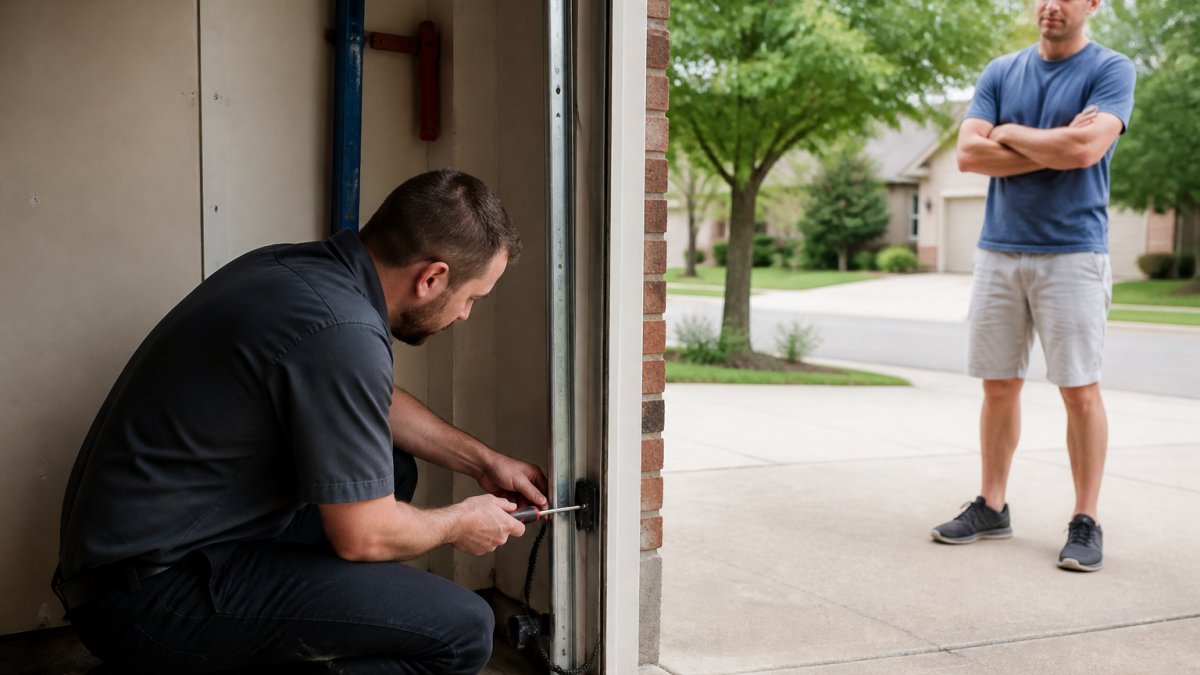
Tools and a Realistic Time Estimate
You need only a screwdriver or nut driver that matches your bracket hardware, a dry cloth, and a step stool if your sensors sit higher than knee height. Most alignment jobs take 10 to 20 minutes per side once the path is clear. If you are still adjusting after half an hour with no steady light, stop, the problem is not simple misalignment.
The Alignment Procedure, Step by Step
- Clear and clean first. Sweep the doorway and wipe both lenses, a cobweb across the lens mimics misalignment.
- Loosen one bracket only. Leave the other sensor fixed so you have a stable reference point. Loosen the wing nut or screws just enough that the housing moves with light finger pressure.
- Aim the movable sensor at the fixed one. Watch the indicator light on the sensor you are adjusting. On most openers, a solid LED means the receiver is seeing the beam; a blinking LED means it is not.
- Tighten while watching the light. If the light flickers or drops out as you tighten, the bracket is bent, stripped, or the housing is cracked, the mount, not the aim, is the problem.
- Repeat on the other side only if the first adjustment did not produce a solid light on both units.
- Test with the wall control, not the remote, and confirm the door closes fully without reversing.
The trick most guides skip: align the sensors to each other, not to the door frame. A sensor can look perfectly square to the frame and still miss the beam by a few millimeters because the opposite bracket is slightly twisted. Sight along the top edge of one housing toward the other; if the units are not parallel, the beam walks off the receiver as distance increases.
When Alignment Is Not the Fix
If the light will not go solid no matter how you aim, work through this short decision list before booking a repair:
- Light solid on one, blinking on the other: the blinking unit is usually the receiver that is not seeing the beam. Swap your attention to the emitter side and check for a physical obstruction or a cracked lens.
- Both lights blinking: this is typically a wiring or power fault at the opener head, not an alignment problem. Check the low-voltage wire run for pinches near the track and confirm the opener has power.
- No light on either unit: suspect a tripped breaker, a disconnected wire at the opener terminals, or a failed sensor. Alignment will not fix a dead circuit.
If the door is also noisy, slow, or jerky, the sensor may not be the only issue. Our guide to the 4 signs your garage door needs repair covers the other warning signs worth checking.
Garage Door Sensor Replacement: When Repair Stops Making Sense
Replacement makes more sense than repair when the sensor housing is cracked, water has corroded the circuit board, or the wiring has been chewed or pinched beyond a clean splice.
Age matters too. A sensor that has survived a decade of freeze-thaw cycles and summer storms has done its job.
Compatibility is the detail homeowners miss. Sensors are not universal. The replacement must match your opener's brand and model, or at minimum its frequency and wiring type.
What Garage Door Repair Cost Really Depends On
Most sensor repair listings tell you to call for a quote and never show a number. Here is what drives the bill, what a straightforward job looks like, and how to tell whether a quote is reasonable.
A sensor repair is one of the lower-cost garage door services. A simple alignment or cleaning visit typically includes a service-call fee plus a labor charge, while a sensor replacement adds the cost of the part.
| Cost Factor | What It Means | Effect on Price |
|---|---|---|
| Sensor type | Basic photo-eye vs. a unit with added features | Higher for specialty or matched-pair parts |
| Wiring condition | Clean run vs. damaged, chewed, or buried wire | Higher when wire must be replaced, not just reconnected |
| Opener age and brand | Common current model vs. discontinued unit | Higher for hard-to-source or obsolete parts |
| Time of call | Standard hours vs. after-hours emergency | Higher for emergency response |
| Access | Clear, dry garage vs. obstructed or tight space | Higher with difficult access or low clearance |
| Diagnosis outcome | Sensor-only fault vs. fault traced to the opener logic board | Materially higher when the opener itself is the problem |
What Actually Moves the Number
- Parts vs. labor split. Sensors are inexpensive; labor and travel usually make up the larger share of a small job.
- Matched pairs. Replacing both sensors at once is common practice because mismatched or aged pairs tend to fail close together. Ask whether the quote includes one unit or a pair.
- Wire runs. A short, accessible wire run is quick work. Wire that is stapled inside a finished wall, buried, or chewed by rodents can turn a 20-minute job into a longer one.
How to Read a Quote
Ask for the estimate in writing before work begins, with parts and labor listed separately, and confirm whether the diagnostic fee is credited toward the repair if you approve the work. Ask what happens if the sensor replacement does not solve the problem, a reputable provider will explain how they handle a fault in the opener's logic board rather than the sensor.
A straightforward sensor swap is one of the lower-cost garage door repairs; a fault in the opener's logic board is a different job entirely, which is why a proper diagnosis comes before any quote. Ask any provider to explain what they found and why the fix costs what it does.
For consumer-protection context on estimates and high-pressure tactics, the FTC's consumer guidance on home repair explains your right to a written estimate before you commit.
How to Choose a Local Sensor Repair Service
Choosing well comes down to five checks, and they take about as long as a phone call.
- Confirm the service area. A provider should state plainly which towns it covers. If you are outside the map, you will wait. You can check our full list of service locations to see whether your address falls inside ours.
- Ask about response time. "24/7" means nothing without an actual arrival window. Get one.
- Request a written quote before work begins, covering parts and labor.
- Ask about warranty on both the part and the labor.
- Look for licensed technicians and reviews from customers in your own town, not just a star rating.
The FTC's consumer guidance on home repair explains your right to a written estimate and how to spot high-pressure tactics. For the technical side, the U.S. Consumer Product Safety Commission publishes guidance on garage door safety, including why the sensors must never be bypassed.
Get Your Sensor Repair Booked with Garage Door Connection
We are a local crew, and sensor work is core to what we do. Book with Garage Door Connection and you get a technician who diagnoses the actual fault, a clear explanation of the repair, and a door that closes safely when we leave.
Here is what that looks like in practice:
- Rapid 24/7 emergency response when a door is stuck open or unsafe
- Advanced opener technology, including smartphone control and battery backups, if your old unit is ready for an upgrade
- Solutions built for the local climate, so sensors and hardware hold up through hard freezes and summer storms
You can upgrade to a smart, quiet opener with our team, or contact us to schedule a sensor repair and get a straight answer on what it will take.
Frequently Asked Questions
Why is my garage door sensor light blinking?
A blinking sensor light usually means the two photo-eye sensors are not seeing each other. Something is blocking the beam, one sensor has been knocked out of alignment, or the wiring has come loose. Check for cobwebs, leaves, or a stored item in the beam path first, then look at whether both sensors point straight at each other. If the light keeps blinking after you clear and realign them, the sensor itself may be failing and needs a professional inspection.
Can I repair garage door sensors myself?
You can handle the simple checks: wiping the lenses, clearing obstructions, and nudging a bracket back into line. Anything beyond that, including rewiring, replacing a sensor, or tracing an opener malfunction, is better left to a technician. Safety sensors are a required safety device, and a sensor that works intermittently is worse than one that fails outright because the door can close on a person or pet. Book a professional garage door sensor repair if the problem returns after basic cleaning.
How much does garage door sensor repair cost?
Garage door repair cost varies with the fault, the parts needed, and whether the visit is an emergency call. A straightforward alignment or cleaning visit sits at the low end, while garage door sensor replacement with new photo-eye units costs more because of parts and labor. Garage Door Connection does not publish flat rates, so ask for a written quote before work starts. That quote should list the diagnosis, the parts, and the labor separately.
How long does garage door sensor repair take?
Most sensor repairs finish within an hour once a technician is on site. Alignment and cleaning are quick. Replacement takes longer because the old units come off, new photo-eye sensors go on, and the opener has to be tested through several open and close cycles to confirm the door reverses correctly. If the sensor wiring runs through a wall or the opener itself is malfunctioning, allow extra time. Ask the dispatcher for a window when you book.
When should I call a professional for garage door sensor repair?
Call a professional when the door reverses for no visible reason, when the sensor light stays dark or blinks after cleaning and realignment, or when the opener behaves unpredictably. Also call if you see frayed sensor wiring or damaged brackets. A licensed technician can diagnose the sensor, inspect the track alignment and springs while on site, and confirm the door is safe to operate. Garage Door Connection offers 24/7 emergency response for exactly these situations.
A garage door that reverses on its own is a safety issue, not an inconvenience, and it rarely fixes itself. If your checks point to a failed sensor, a damaged wire, or an opener that will not respond, get a professional eyes on it before something gets caught underneath. Get started with Garage Door Connection and get your door closing reliably again.